How the Automatic Curler Can Be Your New Best Friend
Your arms are extended to the back of your head to reach every strand of hair as you are halfway done curling your hair. You must maneuverer such strands around your curling wand in an uncomfortable posture and hold them in place for at least 15 seconds. Then, you start to doubt if today’s hair-styling session will be an “arm day” for your personal training. When did curling your hair begin to feel like such a workout?
Fortunately, the beauty industry is constantly inventing and changing, extending to the cosmetic products we use daily. So, say goodbye to your conventional curling iron since the automated model has fundamentally altered the landscape.
In this article, we will describe this revolving curling iron, how it functions, and how to use it.
Understanding the Curling Iron
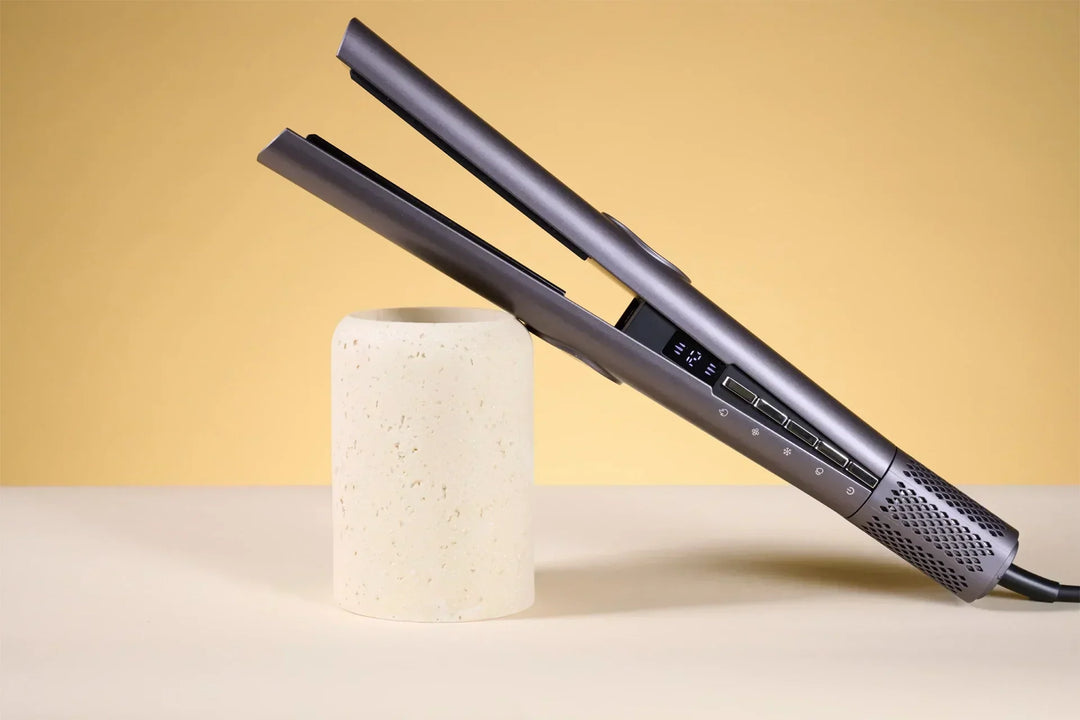
A spinning curling iron, commonly called an automated curling iron, does exactly what it says. You don’t need to twist the rod because this equipment automatically curls your hair.
The most straightforward and widely used automated curler looks like a regular curling iron with a clamp. When you press a button, the barrel rotates, allowing you to easily curl your hair by wrapping the hair strand around it.
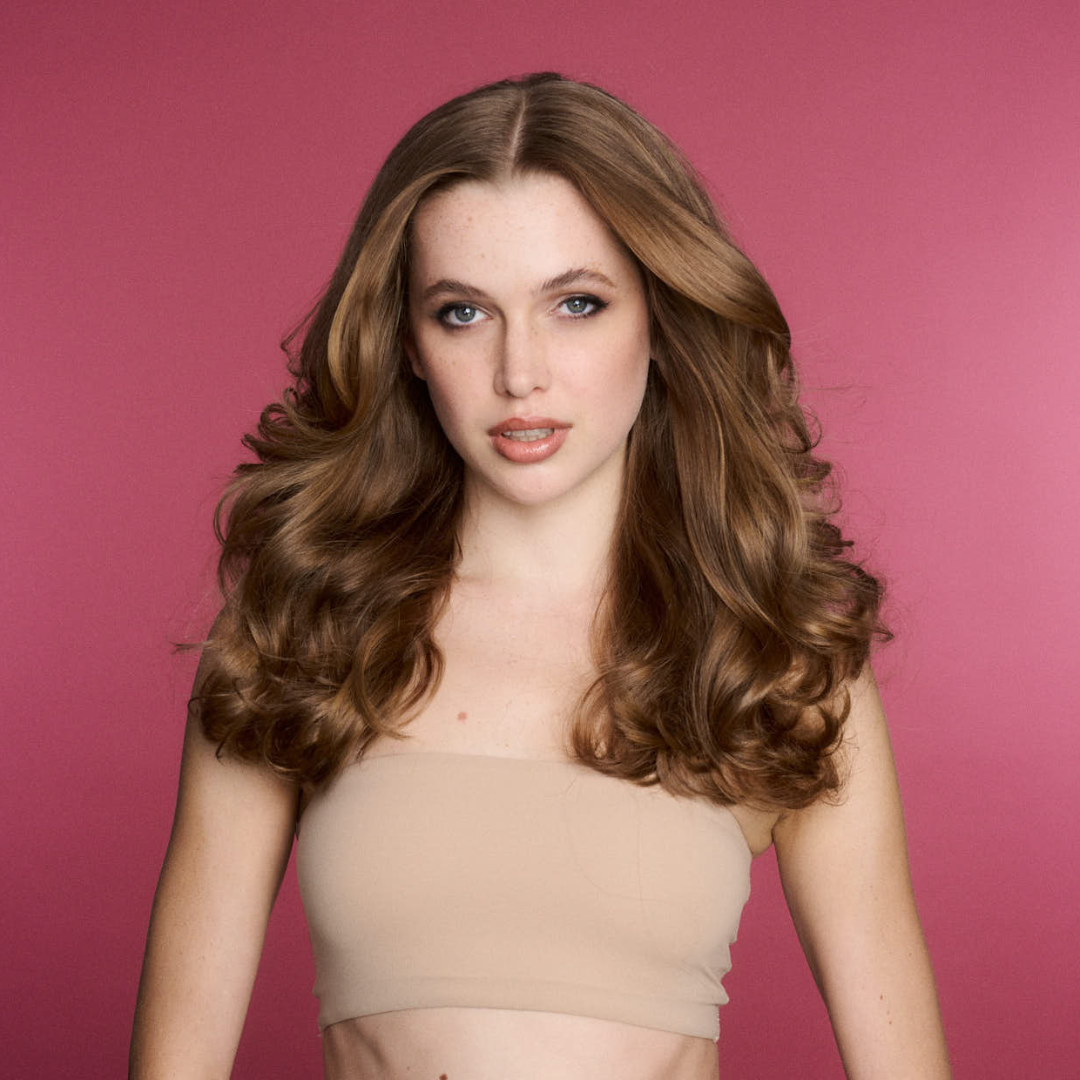
Automatic curling irons help you obtain consistent, accurate curls all over your head while expediting the curling process and sparing your arms from an additional arm exercise.
How Do You Use It?
We can help you out if you need a bit more direction on how to utilise an automatic curler. Put your rotating curling iron to the test by following the steps below:
1 – Preparing Your Hair
Preparation is key to getting the perfect curl. Make sure there are no tangles or knots in your hair to begin with. To combat the knottiest tangles, mist your hair with a tangle tamer that includes a conditioning ingredient. Use a wide-tooth comb to distribute it. To avoid heat damage, you should also use a heat protectant.
2 – Dividing It into Sections
Section your hair after that. Make a centre part in your hair, then clip one side back. You should divide the leftover portion into even smaller strands for each curl. Your curl will be looser if the parts are more prominent.
When using an automated curling iron for the first time, start with little areas of hair. As you become accustomed to the new tool, working with this will become simpler.
3 – Positioning Your Hair
Put the ends of your first segment of hair into the clamp. Choose whether you want the curl to face your face or go away from it. We advise curling away from your face because it better highlights cheekbones. The curling iron will then spin left or right with the push of a button, wrapping your hair around the barrel.
4 – Unclamping Your Hair
Once a few seconds have elapsed, you may release the clamp on your hair and take the barrel out of your curl as usual.
You can watch as you place and click your curling iron as it rotates and curls your strands one at a time. Continue to spiral until all of your hair has been curled.
5 – Sealing in the Style
Make sure to use hairspray to fix your style so that your curls don’t lose shape throughout the day.
Conclusion
If you want a look that is both voluminous and full of character, the automated curling iron is the perfect tool for you. It helps you stylise your hair without exerting much effort or stamina.
Are you looking for an auto curler in Australia? TNS Hair provides customers with the ultimate hair styling experience with various quick, easy, and safe hair tools. Check out our collection today!


Leave a comment