Achieving the Perfect Blowout at Home: Tips and Tricks
A beautiful blowout is a timeless hairstyle that can make you feel like a superstar. Whether you're preparing for a special occasion or just want to elevate your everyday look, mastering the art of the perfect blowout at home is a valuable skill. In this blog, we'll explore what a blowout is, the benefits of using a blowout brush, a step-by-step guide to achieving the perfect blowout, how to maintain your blowout, and even some customer experiences to inspire your own home blowout journey.

What is a Blowout?
A blowout is a professional hairstyling technique that involves using a blow dryer and a round brush to create voluminous, bouncy, and smooth hair. It's characterised by its sleek, polished finish with a slight curl or wave at the ends. Blowouts are popular because they give your hair a luxurious, salon-worthy look that lasts for days.
Benefits of Using a Blowout Brush
The key tool for achieving a perfect blowout at home is the blowout brush. Here's why it's essential:- Versatility: Blowout brushes come in various sizes and shapes, allowing you to achieve different styles and volumes.
- Reduced Heat Damage: Blowout brushes typically have ceramic or tourmaline coatings that distribute heat evenly, reducing the risk of hair damage.
- Time Efficiency: They combine the functions of a brush and a blow dryer, saving you time in the styling process.
- Professional Results: With the right technique and brush, you can achieve salon-quality results in the comfort of your home

Step-by-Step Guide to the Perfect Blowout
- Prepare Your Hair:
- Start with clean, damp hair. Towel-dry it gently to remove excess moisture.
- Apply a heat protector to shield your hair from heat damage.
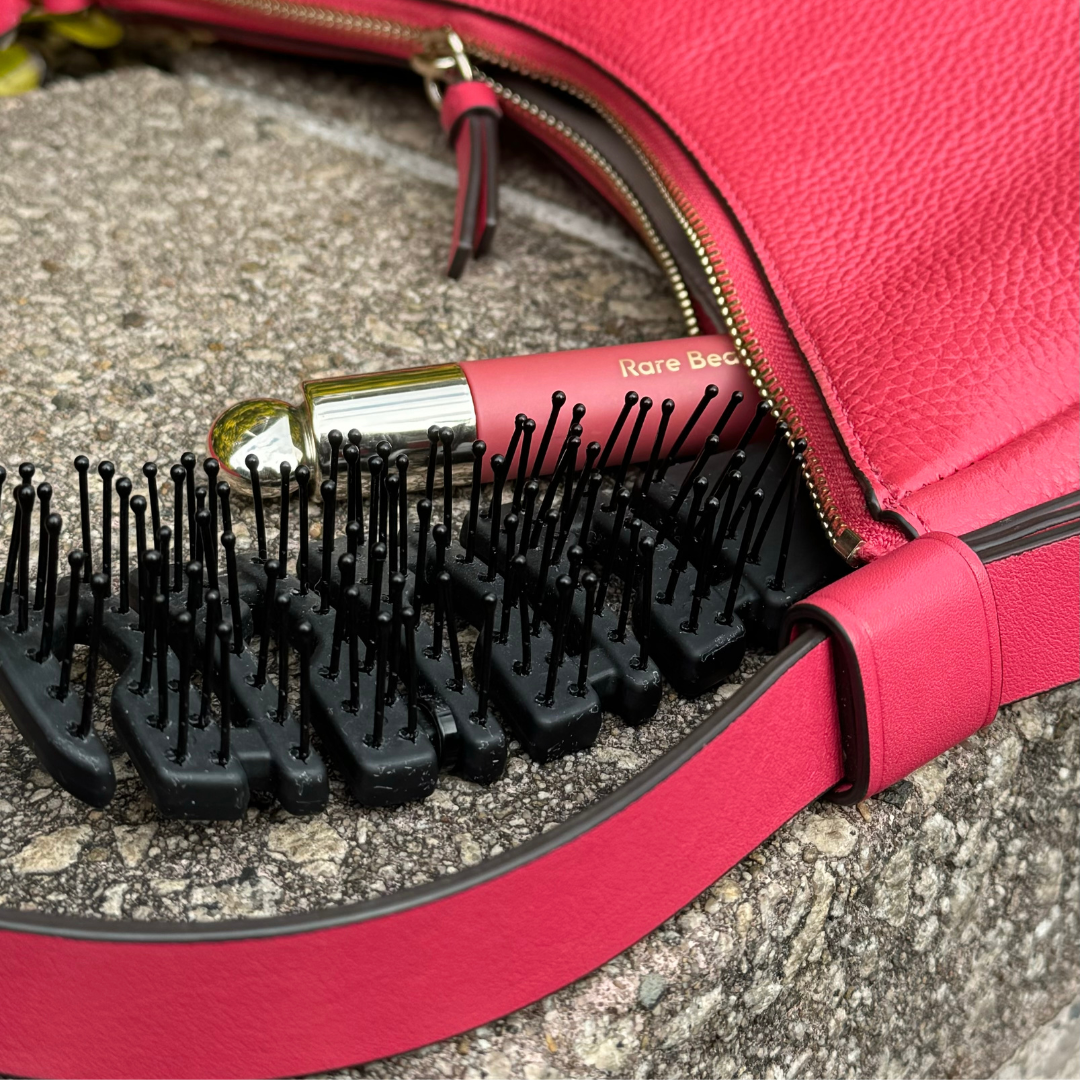
- Use the TNS blowout brush suitable for any hair type and desired style.
- Section Your Hair:
- Divide hair into sections for easier styling. Start from the bottom and work your way up.
- Begin Blow-Drying:
- Using the TNS blowout brush, start at the roots and work your way down while rolling the brush away from your face to create volume.
- Create Curls or Waves:
- At the ends of your hair, curl the brush to create the classic blowout shape.
- Cool Down:
- Use the cool shot button on your blow dryer to set your hair in place.
- Repeat and Finish:
- Repeat the process for all sections, then finish with a light-hold hair spray for extra hold and shine.
Maintaining Your Blowout
To make your perfect blowout last longer, follow these maintenance tips:
- Use a silk or satin pillowcase to reduce friction and frizz while you sleep.
- Avoid excessive heat styling between blowouts to prevent damage.
- Use dry shampoo on the roots to absorb excess oil and extend the life of your blowout.
- Keep your blowout brush clean and free from hair buildup to maintain its effectiveness.
Customer Experiences
Many people have successfully achieved the perfect blowout at home, and here are a few customer experiences to inspire you:
- Sarah, a working mom, shares how a blowout brush saves her time during her morning routine, allowing her to look polished and put-together.
- Emily, a bride-to-be, talks about how she used a blowout brush to create the perfect bridal look for her engagement photoshoot.
- Alex, a hairstylist, offers professional tips and tricks for mastering the art of the blowout at home, making it accessible to everyone.
Achieving the perfect blowout at home is both rewarding and achievable with the right tools and techniques. By understanding what a blowout is, the benefits of using a blowout brush, and following our step-by-step guide, you can enjoy salon-quality results in the comfort of your home. With a little practice and proper maintenance, your perfect blowout will keep you looking fabulous for days. So go ahead and give it a try, and you might just fall in love with the confidence and style that a blowout brings to your life.


Leave a comment